Install and Configure OwnCloud on Ubuntu and Debian
 Owncloud provides services similar to dropbox. Many of the other websites similar to dropbox that provide file storage, syncing, and sharing functions. The benefit of owncloud is to taking control of our own data and the file storage space. The owncloud has lots of options, feature, configuration and plugins to consider. We will discuss basic functionality and configurations in this article.
If you want to install on Ubuntu please add sudo command before the following commands.
Prerequisites:
Owncloud setup is based on PHP and database combination, database can be MySQL or SQLite. So install PHP, Apache web server and MySQL server on Ubuntu or Debian.
Install Apache and owncloud dependencies.
apt-get install apache2 php5 php5-json php-xml-serializer zip php5-gd
apt-get install php5-sqlite curl libcurl3 libcurl3-dev php5-curl
apt-get install mysql-server libapache2-mod-auth-mysql php5-mysql
Download and Setup:
Enter /usr/local/src folder download and extract owncloud.
cd /usr/local/src
mkdir /var/www/cloud
root@owncloud:/usr/local/src# wget http://download.owncloud.org/community/owncloud-5.0.15.tar.bz2
apt-get install bzip2
bunzip2 owncloud-5.0.15.tar.bz2
It will become in tar as shown below.
owncloud-5.0.15.tar
tar xvf owncloud-5.0.15.tar
Copy owncloud to apache html folder.
cp -r owncloud/* /var/www/cloud/
Change folder ownership.
chown -R www-data:www-data /var/www/cloud
Create Database: (Optional)
MySQL server must be started before creating the database, login to MySQL server.
mysql -u root -p
Create database called “clouddb”
create database clouddb;
CREATE USER ‘admin’@’localhost’ IDENTIFIED BY ‘password’;
Allow “clouddbuser” to access the “clouddb” database on localhost with predefined password.
grant all on clouddb.* to ‘clouddbuser’@’localhost’ identified by ‘password’;
Configure Apache server:
Enable .htaccess and mod_rewrite if running apache
vi /etc/apache2/sites-enabled/000-default
To enable .htaccess files you need to ensure that ‘AllowOverride’ is set to ‘All’ in the ‘Directory /var/www/’ section of your virtual host file
<Directory /var/www/>
Options Indexes FollowSymLinks MultiViews
AllowOverride All
Order allow,deny
allow from all
</Directory>
a2enmod rewrite
root@owncloud:/var/www/cloud# a2enmod rewrite
Enabling module rewrite.
To activate the new configuration, you need to run:
service apache2 restart
a2enmod headers
root@owncloud:/var/www/cloud# a2enmod headers
Enabling module headers.
To activate the new configuration, you need to run:
service apache2 restart
Configure PHP:
Increase file upload limit.
vi etc/php5/apache2/php.ini
In this file, search for:
; Maximum allowed size for uploaded files.
; http://php.net/upload-max-filesize
upload_max_filesize = 2M
; Maximum size of POST data that PHP will accept.
; http://php.net/post-max-size
post_max_size = 8M
And change their value to whatever you want. Then save the file and restart Apache:
Restart Apache and visit your installation.
/etc/init.d/apache2 stop
* Stopping web server apache2
apache2: apr_sockaddr_info_get() failed for ubuntu
apache2: Could not reliably determine the server’s fully qualified domain name, using 127.0.0.1 for ServerName
… waiting .. [ OK ]
Note: If appear above error you need to add ServerName in apache2.conf file.
vi /etc/apache2/apache2.conf
ServerName localhost
Above error message will be removed.
Configure ownCloud:
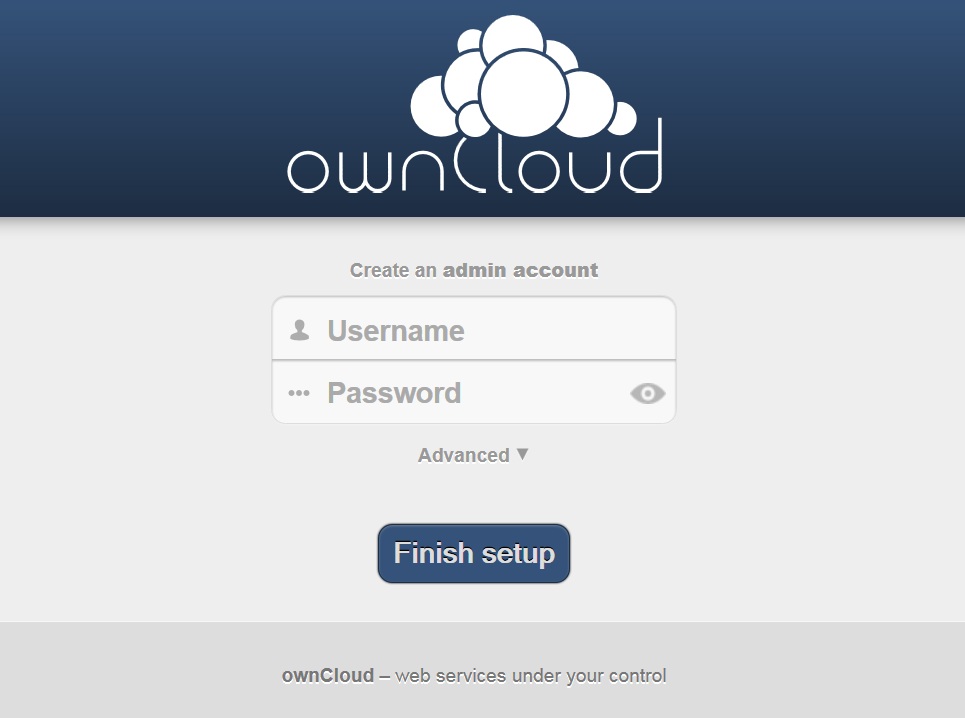
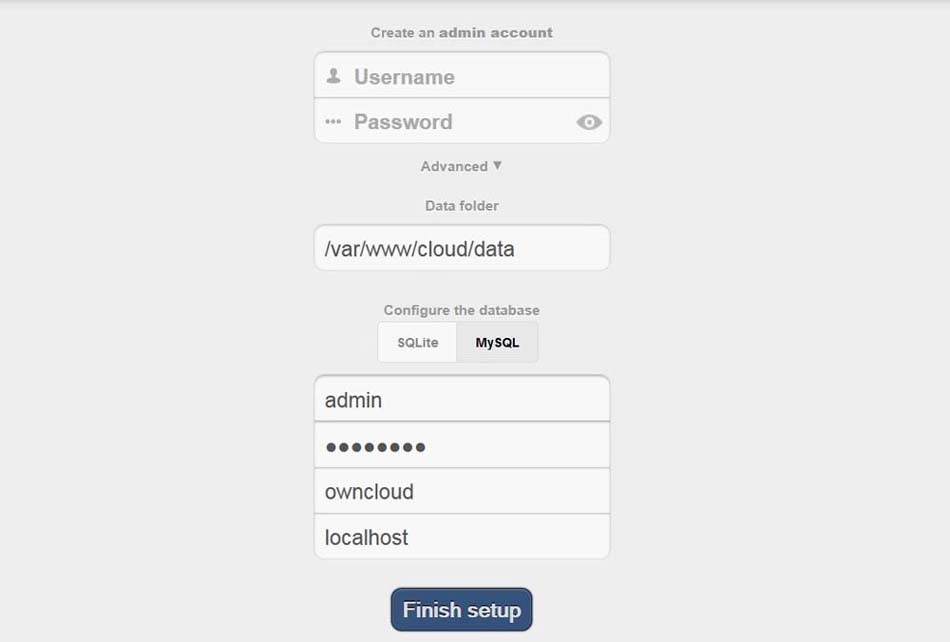
Open up web browser, point a URL to http://127.0.0.1/cloud ( http://Your-custom-domain).

MySQL database requires database user, password and data base name.

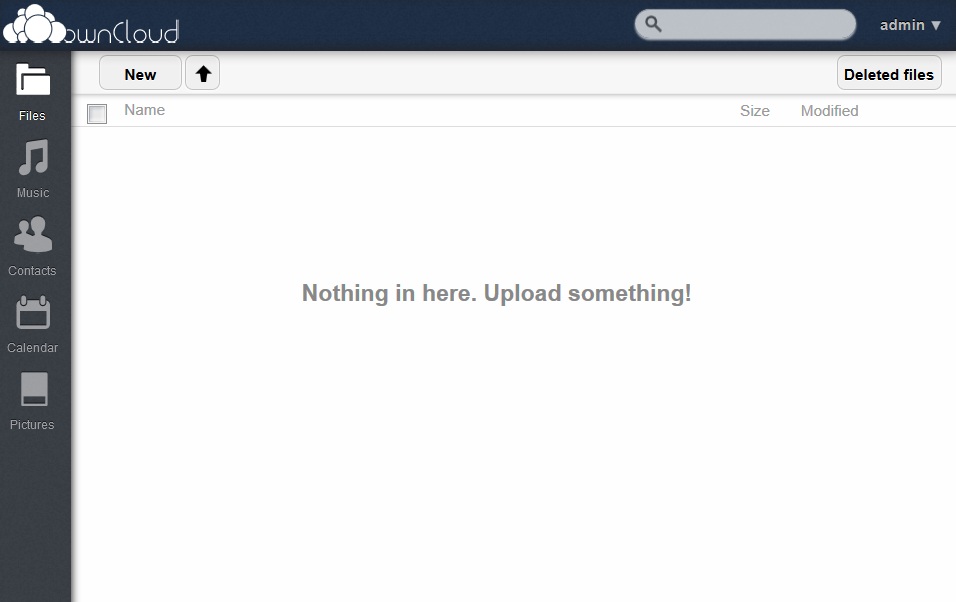
Now you can start upload a file via browser, alternately you can download ownCloud client to upload the files.

That’s it
Posted by Asif Ace on LinuxPathFinder


